Before You Start: What Makes a Dollhouse Build Different
A full dollhouse kit is a different project from a single-room miniature kit. There are more structural parts, the walls are large enough to warp, and the order you finish surfaces in matters: once walls are glued together, painting or papering inside the corners becomes slow, messy work. Most of the difference between a neat build and a frustrating one comes from planning the sequence before you open the glue.
This guide covers how to build a dollhouse kit made from laser-cut wood or MDF — the most common type sold in Australia. If you're starting with a smaller room kit or book nook, our beginner's guide to miniature house kits is the better starting point.
Tools and Materials
Kits include the parts; these make the build go smoothly:
- PVA wood glue for wood-to-wood joints, and tacky craft glue for fabric, paper and small accessories
- Instant glue (cyanoacrylate) only for metal or plastic parts — it sets too fast for structural joints
- Masking tape, rubber bands and small clamps to hold walls square while glue dries
- A set square or any right-angled object to check corners
- Fine sandpaper (240 grit) and a sanding block
- A sharp craft knife and a cutting mat
- Small flat brushes and water-based acrylic paint or stain
- Fine tweezers for trim, hinges and furniture
- A pencil to label parts as you remove them from the sheets
Step 1: Inventory and Label Every Part
Lay out every sheet and match it to the parts list before you punch anything out. Pencil each part's number on a face that will be hidden once built — the numbers printed on sheets disappear the moment a part is removed. Missing or damaged parts are much easier to sort out with the seller now than halfway through.
Step 2: Dry-Fit the Shell
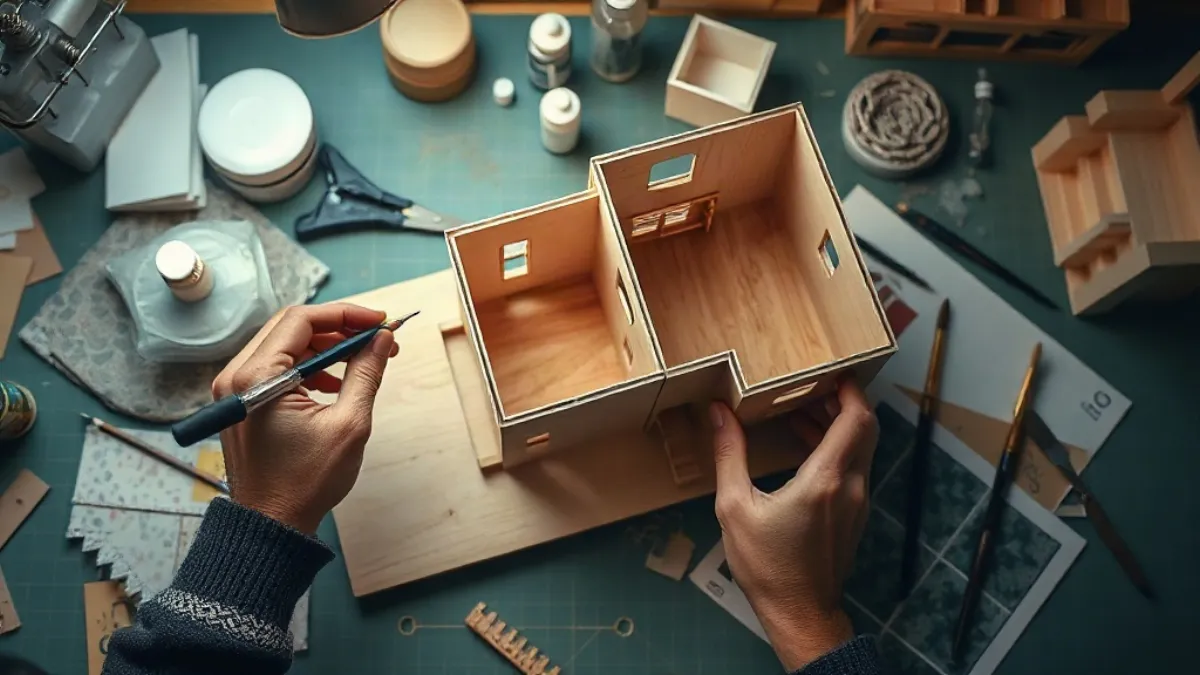
Assemble the base, back wall, side walls and floors without glue, holding them with masking tape. This shows you how tabs fit, which faces point inward, and whether any piece is bowed. Mark the inside faces with a pencil arrow, then take it apart.
Step 3: Paint, Stain and Paper Before Gluing
This is the step most first builds skip, and the one that makes the biggest visual difference. With the shell apart:
- Paint or stain exterior walls while they lie flat, keeping paint off tabs and slots so joints still glue well
- Apply wallpaper and flooring to interior faces, trimming 1–2 mm short of edges and joints
- Seal raw MDF with a thin coat of primer first; it drinks paint and can swell if soaked
- Let everything dry completely and press flat under books so large panels don't bow
Two thin coats always beat one thick coat, both for finish and for keeping panels flat. If your kit didn't come with wallpaper, our free 1:12 wallpaper and floor printables are drawn to scale.
Step 4: Glue the Structure Square
Glue the base and back wall first, then one side wall, checking each corner with your square. Hold joints with tape or rubber bands and give PVA at least 30–60 minutes before adding the next wall, longer in humid weather. Wipe squeeze-out immediately with a damp cotton bud — dried glue blocks stain and paint.
Work floor by floor from the bottom up. A wall that's slightly out of square on the ground floor gets worse with every storey above it.
Step 5: Plan Lighting Before Closing Walls
If your kit includes LED lighting, or you plan to add it, run wires now. Test every light with the battery pack before walls and ceilings go on, route wires along corners or behind trim, and leave the battery box somewhere reachable — batteries will need replacing. A strip of tape over each wire run on the plan saves hunting later.
Step 6: Stairs, Windows and Doors
Stairs are usually the fiddliest structural part. Build them as a separate sub-assembly, let them dry fully, then dry-fit into the stairwell before gluing. Window frames and doors go in after the walls are fixed; if a hinge is included, test the swing before the glue sets, since a door that catches on the floor can't be fixed afterward.
Step 7: The Roof
Attach roof panels, then shingles or tiles. Start shingles at the bottom edge and work upward so each row overlaps the one below, offsetting joints like real roofing. A pencil line every row keeps them straight. Paint or stain shingles before fitting — painting a finished roof leaves gaps and drips.
Step 8: Trim, Furniture and Finishing Touches
Skirting boards, cornices and window trim hide small gaps where walls meet and make rooms look finished. Then add furniture — built and dried separately — and finally the small accessories. For layout ideas see how to arrange dollhouse furniture.
How Long Does It Take to Build a Dollhouse?
Plan on roughly:
| Kit type | Typical build time | First-timer estimate |
|---|---|---|
| Single room / room box | 6–12 hours | 10–20 hours |
| Two-storey house | 20–30 hours | 30–50 hours |
| Large multi-room house with lighting and roof tiles | 40+ hours | 60+ hours |
Painting and drying time is on top of assembly. Spreading a build over several weekends gives glue and paint the drying time they need.
Fixing Common Problems
A panel has warped. Lightly mist the concave side with water, clamp it flat between boards and leave it overnight. Prevent it by painting both sides of large panels.
Tabs are too tight. Sand the tab, not the slot, a little at a time. Paint on tabs is the usual culprit.
Tabs swelled after gluing. Too much PVA on MDF. Use less glue, applied with a toothpick, and wipe excess straight away.
Walls won't meet square. Loosen the most recent joint while glue is still soft, re-seat it against a square, and hold with tape until set.
Wallpaper is bubbling. Use a thin, even layer of glue stick or diluted PVA, smoothing from the centre out with a card.
Australian Conditions
Humidity slows glue and paint drying in summer, especially in Queensland and the Top End, and dry heat can make thin wood brittle. Build in an air-conditioned or shaded room where you can, and keep a finished dollhouse out of direct sunlight — fabric, printed wallpaper and painted finishes fade surprisingly quickly under Australian UV.
Choosing a Kit You'll Enjoy Building
For a first full house, look for clear illustrated instructions, parts that are numbered on the sheet, and a kit you can finish in a few weekends. Browse dollhouse kits or the wooden dollhouse range, and check dollhouse scale before buying extra furniture.
Useful Tools
The dollhouse scale converter turns real furniture sizes into 1:12, 1:24 or 1:48, and our free 1:12 printables include wallpaper, floors and openable miniature books. For lighting a book nook or room box, see book nook lighting.