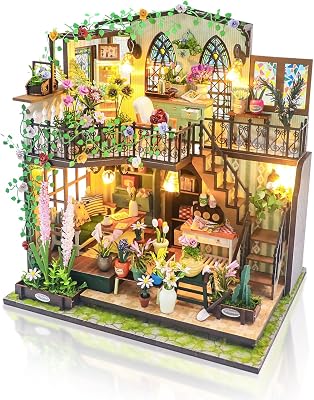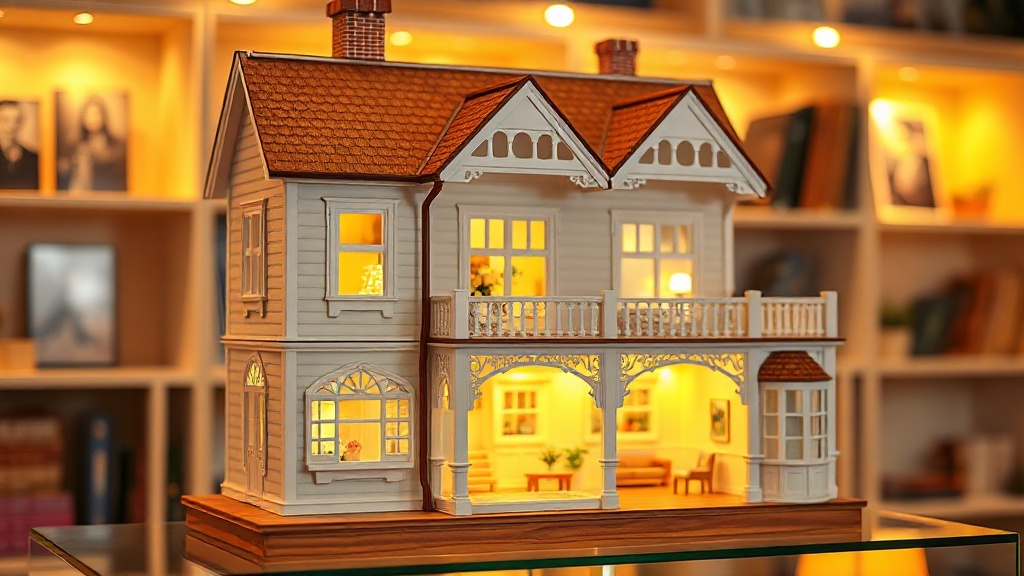
Your First DIY Miniature House: Everything You Need to Know
Building a DIY miniature house is one of the most rewarding craft experiences you can have. But where do you start? This comprehensive guide will take you from complete beginner to confident crafter.
What's Inside a Mini House Kit?
Most mini house kits include:
- Pre-cut wooden pieces for walls and floors
- Miniature furniture components
- Fabric swatches for curtains and bedding
- LED lighting with battery pack
- Glue and basic tools
- Detailed instruction manual
Essential Tools You'll Need
While most kits include basic tools, having these extras makes the experience smoother:
- Precision tweezers (essential for tiny pieces)
- Extra craft glue (water-based works best)
- Small scissors or craft knife
- Patience (the most important tool!)
Step-by-Step Building Process
Step 1: Organize Your Pieces - Before anything else, lay out all components and match them to the instruction manual. This prevents frustration later.
Step 2: Build the Structure - Start with the main walls and floors. Take your time ensuring pieces fit perfectly before gluing.
Step 3: Add Details - This is where the magic happens. Install furniture, hang tiny pictures, place miniature books on shelves.
Step 4: Install Lighting - LED lights transform your creation. Follow the wiring diagram carefully for professional results.
Best Starter Kits Recommended
For beginners, look for kits rated as "easy" or "beginner-friendly" with:
- Fewer than 200 pieces
- 6-10 hour estimated completion time
- Clear, illustrated instructions
- Buyer comments that mention clear instructions
Common Mistakes to Avoid
- Rushing the glue – let each section dry fully before proceeding
- Forcing pieces that don't fit
- Skipping the instruction manual
- Using too much glue (less is more!)
Understanding the Scale Numbers
Miniature kits are sold in scales, and mixing them accidentally is one of the most common beginner frustrations. The number describes the ratio between the miniature and the real thing:
1:12 — The most common dollhouse scale, where one inch represents one foot. A 1:12 dining chair is roughly 7–8cm tall. This is the scale with by far the widest range of compatible furniture and accessories available, which makes it the safest choice if you plan to add pieces over time.
1:18 and 1:20 — Increasingly common for compact room-box and diorama kits. Detailed, but with a much smaller aftermarket accessory range.
1:24 — Half the size of 1:12. Popular for kits where the whole house needs to fit on a shelf. Accessories exist but are less abundant.
The practical rule: decide what scale you're building in before you start buying accessories. A 1:12 potted plant placed in a 1:24 room looks comically oversized, and this mismatch is the fastest way to break the illusion you spent hours building. Our dollhouse scale guide has a full size chart.
Why the Glue Step Deserves More Care Than It Gets
Most first builds go wrong at the same point — the glue. A thin, even layer of PVA holds laser-cut wood as securely as a thick blob, and excess glue causes two problems that are difficult to reverse. First, it seeps out of the joint and leaves a glossy patch that shows clearly on visible surfaces once dry. Second, it lengthens drying time substantially, which tempts you into handling a joint before it has actually set.
A useful habit: apply glue with a toothpick rather than straight from the bottle. It sounds fussy, but it gives far better control on small joints and dramatically reduces cleanup. Dry-fit every piece before committing glue — check it sits correctly, then take it apart, apply glue, and reassemble.
How Long Your First Build Will Really Take
Manufacturer estimates tend to assume an experienced builder working without interruption. As a first-timer, expect to take roughly 1.5 to 2 times the stated time. A kit advertised as "6–8 hours" is realistically a 10–12 hour project spread over several evenings.
This isn't a problem — it's worth planning for. The most common cause of an abandoned first build is starting a large kit expecting to finish it in an afternoon, then losing momentum when it becomes clear that isn't happening. Choosing a smaller kit for your first attempt and finishing it is far more satisfying than half-completing an ambitious one.
What to Do When Something Goes Wrong
A piece doesn't fit. Check the part number first — laser-cut kits often contain very similar-looking pieces for different sections. If it's the right piece and still tight, sand the edges gently with fine sandpaper rather than forcing it. Laser-cut ply is brittle and snaps under pressure.
A piece breaks. Thin wooden components do occasionally snap. Most breaks can be glued back together invisibly, especially on parts that end up hidden inside the structure. Don't discard a broken piece until you've checked whether the break will even be visible in the finished build.
The LED doesn't work. Test the battery pack in isolation before assuming the wiring is at fault. Loose battery contacts are a far more common cause than a genuine circuit fault, and most kits ship without batteries, so check that first.
Ready to build your first miniature house? Browse our beginner-friendly collection and start your miniature journey today!