How Kit Lighting Works
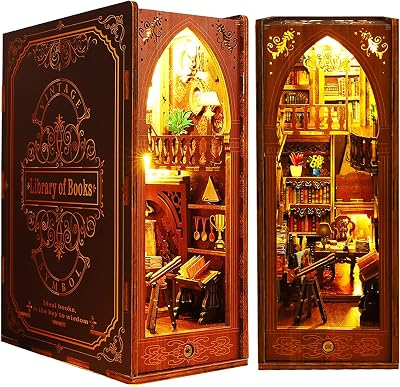
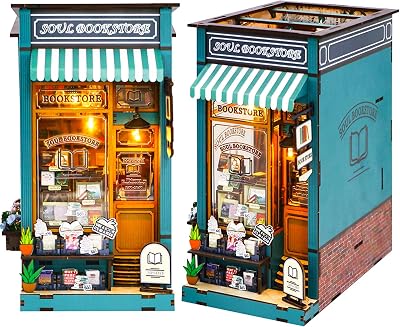
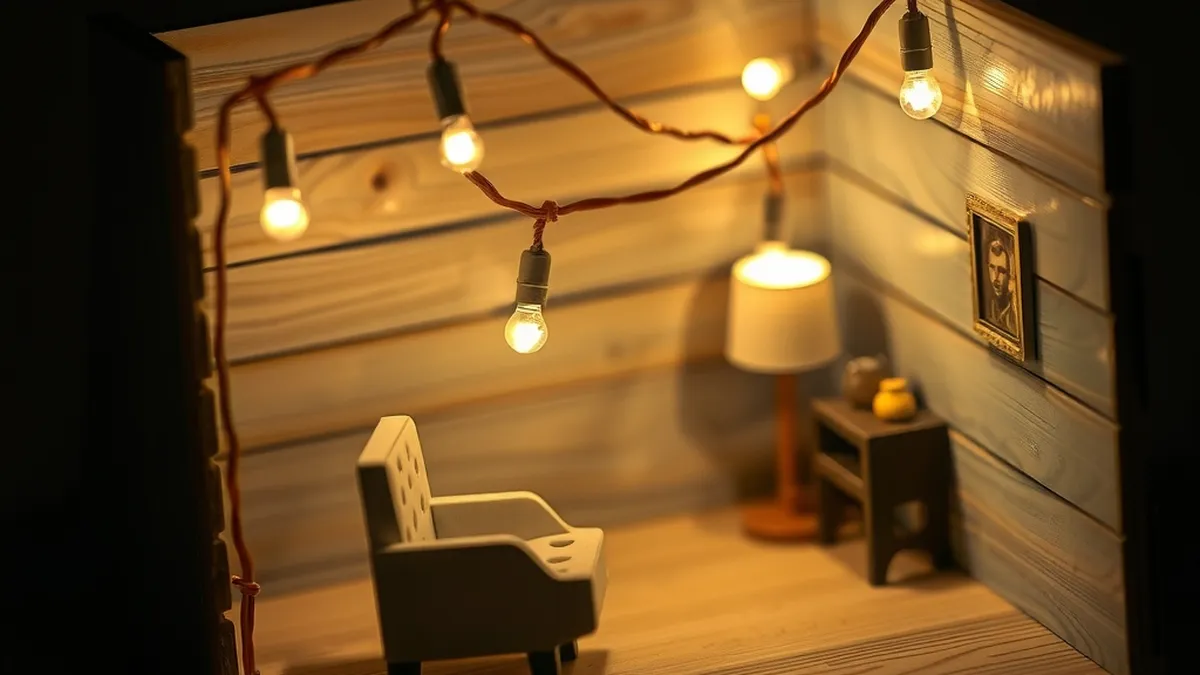
Almost every book nook kit lights its scene the same way: small LEDs — a strip, a few beads or tiny lamps — wired to a battery box with a switch, hidden in the base or behind a wall. What varies is how you power it and how you switch it on.
| Power | Common in | Good | Watch for |
|---|---|---|---|
| 2 × AAA | Most kits | Small box hides easily | Batteries usually not included |
| 3 × AAA or AA | Bigger or brighter scenes | Longer between changes | Bigger box to hide |
| USB-C | Some newer kits | No batteries; good near a power point | A cable runs to the shelf |
| AAA or USB-C | A few kits, e.g. NookMaster Knight's Legend | Choose either | — |
Batteries are rarely in the box. Some makers say outright that glue and batteries aren't included because of air-freight rules.
Switch Types
- Slide switch on the battery box: the simplest, but you have to reach the box.
- Touch switch: tap a pad or a part of the scene to turn it on. Common on CUTEBEE, Fsolis and ISSEVE kits.
- Touch dimmer: tap and hold to set the brightness — CUTEBEE's A Midsummer Night's Dream has one.
- Motion or auto-sensing: lights come on as you walk past. Tonecheer's Leonardo da Vinci works by touch or by auto-sensing.
- Multi-mode touch: one pad cycles lights, music and moving parts, as on the STRUCWOOD Deep-Sea Explorer.


Fitting the Lights During the Build
- Test before you glue. Put batteries in and switch the lights on before any wall is fixed — it's far easier to fix a loose plug now.
- Route the wires first. Follow the channels in the kit and tape loose wire flat so it can't be pinched between panels.
- Plan where the box goes. Make sure you can still reach the switch and change batteries once the nook is finished and on the shelf.
Upgrading the Light
- Add a lamp or a lit window with a small plug-in LED set that has its own switched battery box; the Wekuw mini lights need no soldering.
- Light from the front and the back. A light near the front picks out detail; one at the back gives depth.
- Use a mirror for depth. A mirror or reflective card at the back makes a short alley look endless — kits like the Lynnuo Magic Train Station build this in.
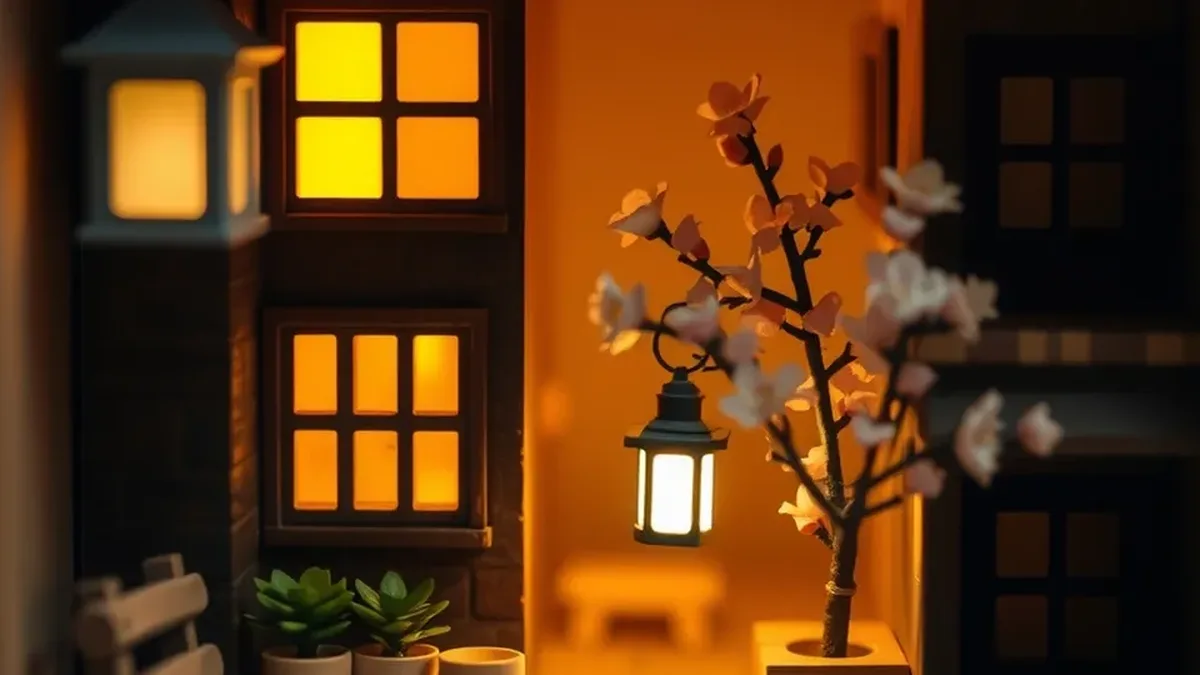
- Warm light looks cosier than cool white in most scenes.

When It Won't Light Up
- Batteries: fresh, the right way round, and making contact with the springs.
- Switch: the switch on the battery box is on, as well as any touch pad.
- Plugs: every connector pushed fully home.
- Wires: look for a wire pinched between panels or pulled loose while gluing.
- Rechargeables: rechargeable AAA cells run at a lower voltage than alkaline ones, so lights can look dimmer.
For kits that already light well, see the best book nook kits and 30 book nook ideas.
Frequently asked questions
What batteries do book nook kits use?
Most use 2 × AAA batteries in a small box with a switch; some larger kits need 3 × AAA, and a few use AA. Batteries are rarely included — some makers say they can't ship them by air.
Can a book nook run on USB instead of batteries?
Some can. Newer kits such as NookMaster's Knight's Legend take either 2 × AAA batteries or a 5V USB-C cable, which suits a shelf near a power point. Check the listing — most kits are battery-only.
Why won't my book nook light up?
Check the battery direction and the switch on the battery box first, then that every plug is pushed fully home. If a light still doesn't work, a wire may have been pinched or pulled loose while the walls were glued.
Can I add more lights to a book nook?
Yes. Small plug-in LED sets with their own switched battery box, like the Wekuw mini dollhouse lights, add a lamp or a lit window without any soldering.