Getting Started With Your Rolife Book Nook
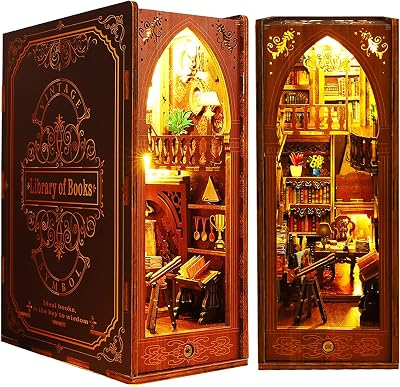
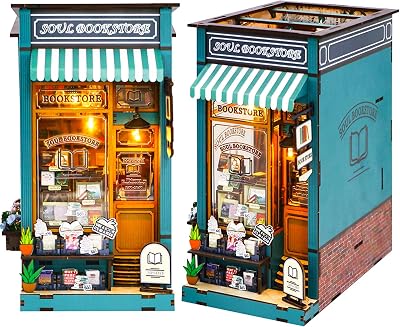
Rolife book nook kits are among the most popular DIY miniature builds in Australia, prized for their laser-cut precision and detailed instruction booklets. Even so, first-time builders often feel overwhelmed opening the box for the first time. This guide walks through the assembly process step by step, along with the tips experienced builders wish they'd known on their first build.
Before You Begin: Tools & Setup
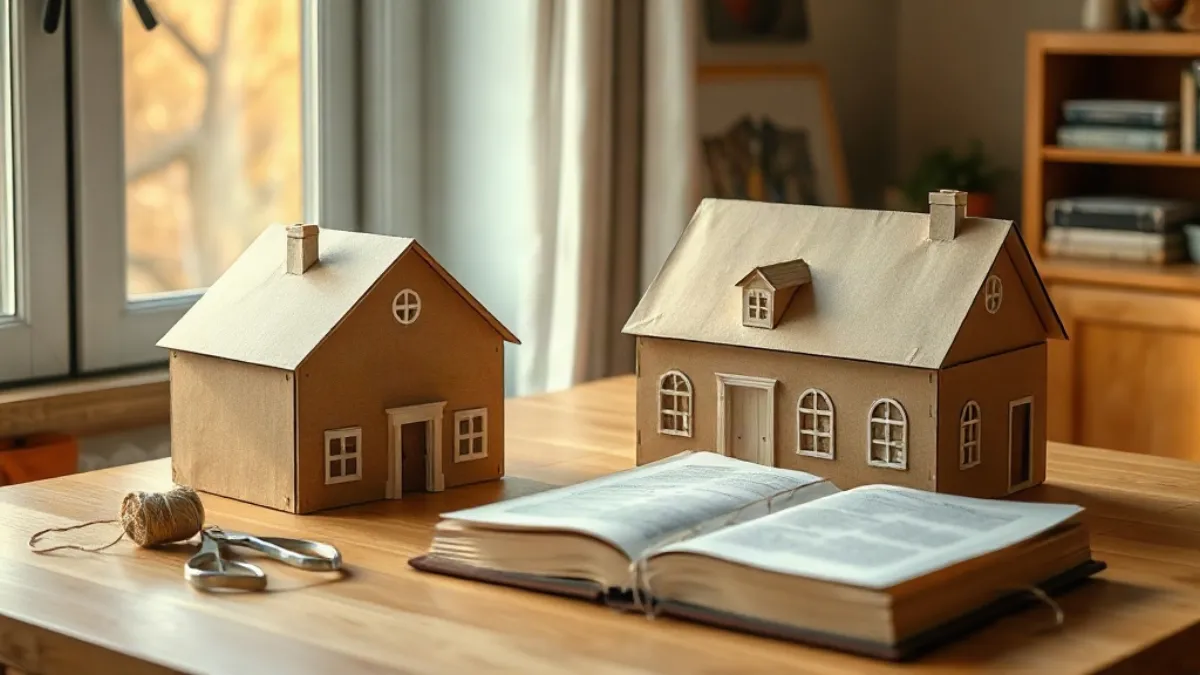
Most Rolife kits include the core tools you need — tweezers, glue, and a small brush — but a few extras make the process much easier:
- A cutting mat or old towel to protect your table
- A pair of fine-tipped scissors for trimming excess material
- Good, even lighting (a desk lamp angled to reduce shadows)
- A shallow tray or container to keep small parts organised as you unpack
Set aside 4–8 hours depending on the kit's complexity — book nooks with multiple LED circuits and intricate landscaping take longer than simpler single-room designs.
Step 1: Sort and Identify Parts
Before gluing anything, lay out all parts according to the numbered diagram in the instruction booklet. Rolife kits label pieces with letter-number codes (e.g., A1, A2, B1) that correspond directly to the assembly diagrams. Taking 15–20 minutes to identify everything before starting saves significant frustration later.
Step 2: Build the Base Structure First
Always assemble the outer shell and base structure before adding interior details. This gives you a stable foundation and correct alignment for everything that follows. Dry-fit pieces together before applying glue to check they sit correctly.
Step 3: Wire the LED Lighting (If Included)
Most Rolife book nooks include a battery-powered LED strip. Thread the LED wire through the designated channels before closing up walls or ceilings — this is the step most commonly done in the wrong order, resulting in having to disassemble completed sections. Test the LED circuit with the battery pack before final assembly to confirm everything works.
Step 4: Add Interior Details and Furniture
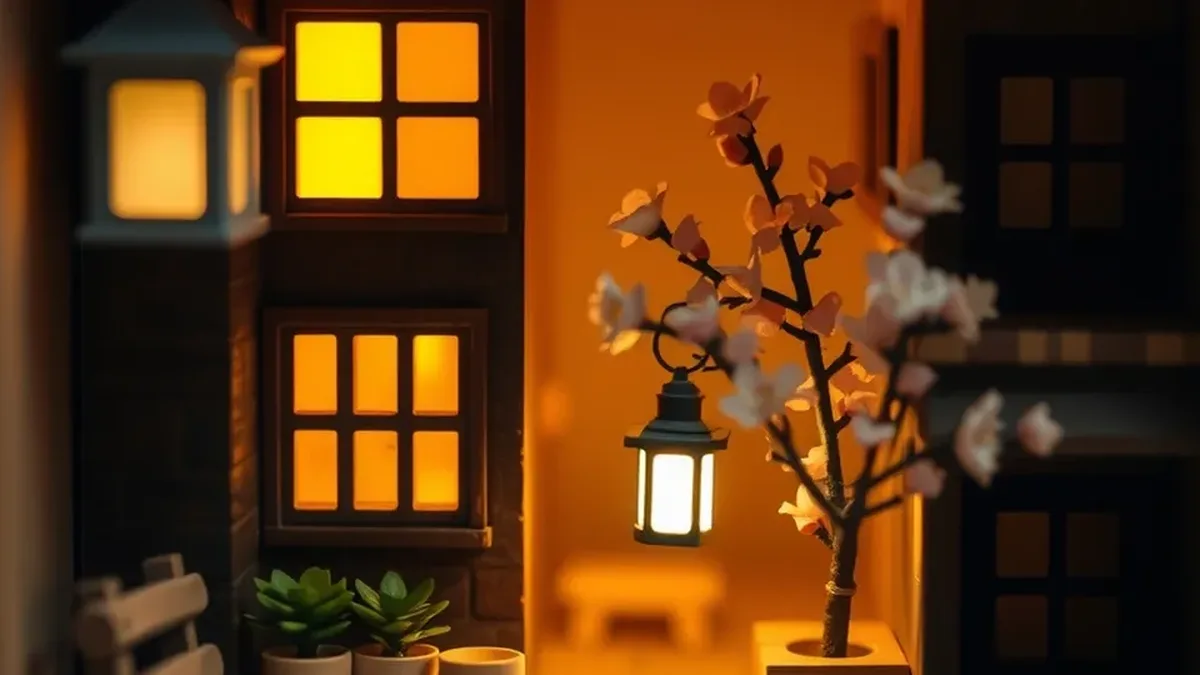
With the shell complete and wiring in place, add miniature furniture, foliage, and decorative elements according to the diagram sequence. Work from the back of the scene toward the front so you don't accidentally knock loose pieces you've already placed.
Step 5: Final Assembly and Bookend Panels
The final step usually involves attaching the bookend-style side panels that let the book nook sit on a shelf like a regular book. Double-check alignment before the glue fully sets, as this step is difficult to reverse.
Common Assembly Mistakes to Avoid
- Applying too much glue — A thin, even layer holds laser-cut wood pieces just as well as a thick blob, and excess glue often seeps out and discolours visible surfaces.
- Skipping the dry-fit — Always test-fit pieces before gluing to catch alignment issues early.
- Rushing the LED wiring — Take your time here; a stuck wire is one of the most common reasons builders have to redo sections.
- Ignoring the instruction sequence — Rolife diagrams are numbered for a reason. Building out of order is the top cause of parts not fitting later in the process.
Troubleshooting: My Piece Doesn't Fit
If a piece feels tight, check you have the correct letter-number code — laser-cut kits sometimes include very similar-looking pieces for different sections. Gently sand rough edges with fine sandpaper rather than forcing a piece into place, as laser-cut wood can be brittle.
Looking for your next build? Browse our full range of Rolife book nook kits and find your next weekend project.